
Booking a salon pedicure at home always sounds like a luxury—until you see the price tag. The good news? With the right tools and a little know-how, you can bring that fresh-from-the-spa feeling right into your own bathroom. And honestly, it’s way easier than you’d expect.
I’ve probably tried every foot file and e-file bit out there—from the cheap drugstore stuff to the fancy pro gear. Now, I’m here to guide you through the routine that always leaves my heels smooth, toes neat, and me feeling ridiculously relaxed. No special license needed. Are you Ready? Let’s dive in.
Why DIY Pedicures Are Worth It
Giving yourself a pedicure at home isn’t just about pretty toenails. It’s actually a little ritual that keeps your feet happy and gives you a break from the daily grind.
You save real money. Salon pedicures usually run somewhere between $35 and $60, and that’s before the tip. Buy a good kit once, and each home pedicure winds up costing just a couple bucks. You control the cleanliness. You know exactly how clean your tools and tub are—no surprises pedicure at home.
It’s actually therapeutic. Warm water plus a good foot rub can melt stress away after a long day.
Your feet look and feel great. Regular home care stops cracked heels, rough calluses, and ingrown nails from becoming bigger issues.
Everything You Need for a Salon-Quality Pedicure At home
Grab these things before you start—makes the whole experience smoother and way less frantic.
- Large basin or bathtub: You want something big enough for both feet.
- Warm water: Fill it high enough so your ankles are covered.
- Soak boosters: Epsom salt, a splash of apple cider vinegar to soften skin, or a few drops of gentle body oil.
- Foot file or pumice stone: A medium-grit stainless-steel file does wonders for calluses.
- Cuticle pusher & nippers: Only nip off actual dead skin—don’t touch live cuticle.
- Nail clippers & glass nail file: Go with glass; they’re kinder to your nails and help prevent splitting.
- Foot scrub: Make your own—just mix half a cup of sugar with an eighth cup of coconut oil.
- Rich foot cream or balm: Look for something with 10%+ urea if your heels are really dry.
- Toe separators & polish: If you want colored nails, these make things easier.
- Fluffy towel: You need one for drying, and one to roll up for a comfy pillow under your ankles.
- That’s your checklist. Now get ready for some seriously happy feet.
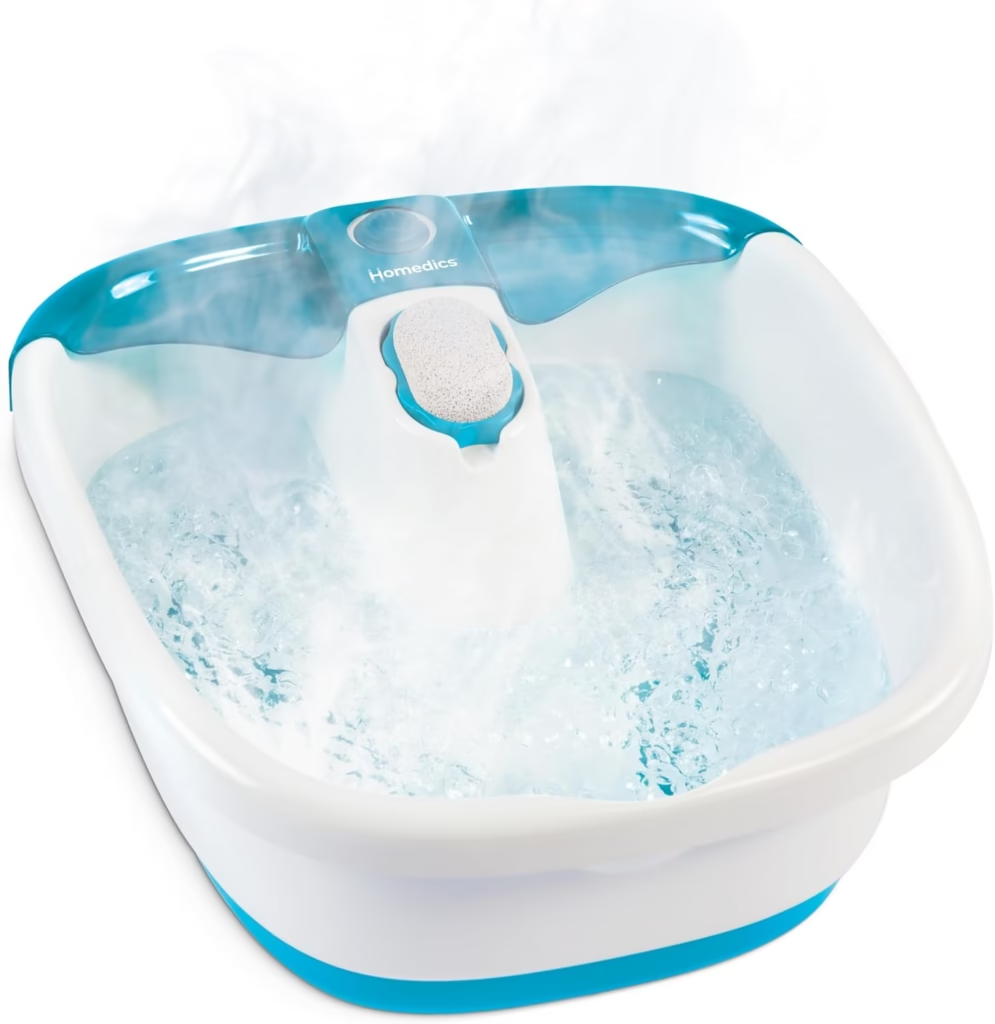
Homedics Bubble Mate Foot Spa For Pedicure at Home
Step 1: Set the Mood (Seriously, It Matters)
Before you even dip a toe in water, set the scene. Dim the lights, maybe light a candle, play some relaxing music, and pour yourself a glass of herbal tea or cucumber water. A pedicure at home isn’t just about your feet—it’s a mental reset, too. Let yourself slow down.
Step 2: The Foot Soak
Fill your basin with warm water—comfortably warm, not piping hot. Too much heat dries out your skin and actually makes things worse later. Toss in half a cup of Epsom salts to ease sore muscles and help soften rough skin. If your feet sweat a lot or tend to get stinky, add a tablespoon of apple cider vinegar. It balances out the skin’s pH.
Soak your feet for 10 to 15 minutes. No rushing. Sit back, close your eyes, and let the warmth do its thing. This is what softens up calluses and cuticles, so don’t skip it.
Step 3: Exfoliate Like a Pro
Take one foot out and pat it mostly dry. Keep the other soaking. This is the perfect time to work on those calluses while everything’s nice and soft pedicure at home.
Start gentle. Grab the medium-grit side of your foot file and move in one direction, like you’re smoothing out a piece of fine wood. Focus on the heels, balls of your feet, and the outer edge of your big toe. Don’t go back-and-forth like a saw—you’re after smooth, not sore.
After that, scrub. Massage a foot scrub all over in circles for a full two minutes on each foot. Pay attention to the tops of your feet and around your ankles—easy areas to overlook. Rinse and swap feet.
Step 4: Nail Care That Works
Dry your feet completely, including between your toes—this is how you dodge those pesky fungal infections.
Trim your toenails straight across. Follow your nail’s natural shape, and don’t cut them too short. Leave a sliver of white at the tip. Use a glass file to smooth the edges, always in one direction.
Now, deal with the cuticles. Rub on a little cuticle remover or oil, wait half a minute, then gently push the skin back with a pusher or orangewood stick. Only snip away dead, clear tissue—don’t touch the living, pink cuticle. That’s natural protection.
Pro tip: Lightly buff your nail surfaces with a fine buffer block. This helps polish go on smooth and evens everything out.
Step 5: The Hydration Mask
If your heels crack, this next step is a lifesaver. Smother your feet in a thick, urea-based cream or heavy shea butter. For even better results, wrap your feet in plastic and pull on some soft cotton socks.
Leave this on for at least 15 minutes. Read, journal, or just zone out. The plastic wrap forces moisture deep in, and you’ll notice the difference right away. If you’re in a hurry, just spend time massaging in the cream—intentional, firm pressure makes a difference.
Step 6: Foot Massage Time
Keep using the cream or grab some massage oil, and spend at least three minutes on each foot. Push your thumbs into the arch, moving from heel to ball like a caterpillar. Circle around the ankles, gently stretch each toe, and finish with long, gliding strokes along the sole.
Besides feeling amazing, this boosts circulation, reduces swelling, and reminds your nervous system to chill out. Reflexology is popular for a reason pedicure at home.
Step 7: Polish (Or Don’t)
If you’re going polish-free, you’re done. If you want color, slow down—this part takes patience.
Wipe each nail with a lint-free cotton pad dipped in rubbing alcohol or white vinegar to get rid of any oils; polish sticks way better to clean nails.
Start with a base coat pedicure at home—one thin layer smooths ridges and keeps nails from getting stained.
Paint two thin coats of your color. Scrape one side of the brush, dot the polish just before the cuticle, and gently push it toward the base, then fill in the rest. Thin coats dry much faster and are way less likely to bubble.
Finish with a top coat. Run the brush along the free edge of each nail to seal it and keep chips at bay.
Carefully remove those toe separators and give your nails a good 10-15 minutes to dry before you move. If you have sandals, wear them—they’re your best friend right now For pedicure at home
Common At‑Home Pedicure Mistakes to Avoid
- Soaking for too long. More than 20 minutes can prune your skin so much that it becomes fragile and harder to work with.
- Using a razor or blade for calluses. Absolutely never. These can cause deep cuts and infection. Stick to a file.
- Skipping the base coat. Dark pigments can stain your nails yellow without that protective layer.
- Forgetting SPF on your feet. If you’re wearing sandals, the tops of your feet are exposed to UV rays just like your face. A quick layer of sunscreen can prevent sunspots and accelerated aging.
Frequently Asked Questions
1. Can I do a pedicure at home if I have a foot fungus?
You can, but take precautions. Avoid any cuticle nipping or aggressive filing on affected nails, and sanitize your tools thoroughly after use. It’s always wise to consult a podiatrist first.
2. How do I get rid of yellow toenails at home?
Yellowing can be caused by staining from dark polish, fungal infection, or health issues. Try a baking soda paste or a dedicated nail whitener. If yellowed nails are also thick or crumbly, see a professional.
3. What’s the best foot cream for very dry, cracked heels?
Look for creams containing 10–25% urea, ceramides, or shea butter. Urea is a hero ingredient that gently exfoliates while deeply hydrating.
4. Can I use the same tools on my hands and feet?
It’s okay if they are thoroughly sanitized between uses, but it’s safer (and more hygienic) to keep separate files and clippers for hands and feet. The bacteria and fungi that can affect feet differ from those on hands.
Taking the time to care for your feet is one of the kindest habits you can build. Whether you’re prepping for open‑toe season or just want to soften the evidence of a long week, this at‑home pedicure routine will quickly become a cherished ritual. Give it a try this weekend—your soles will thank you.