
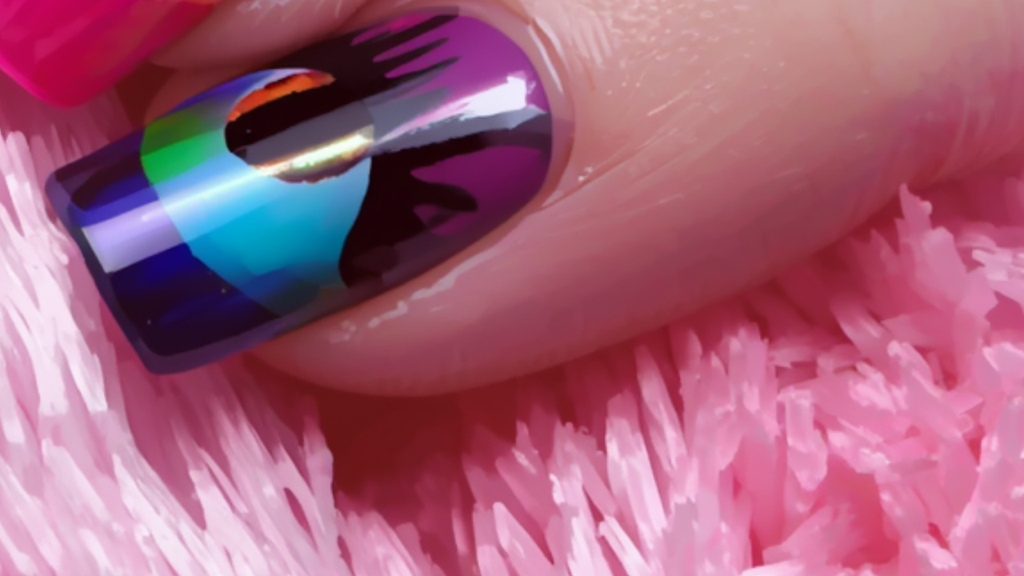
You’ve probably seen the effect before scrolling past the name for it. A nail that looks almost like it has light trapped inside — a metallic stripe that shifts position depending on the angle you’re holding your hand. That’s a cat eye nails, and the name comes from the resemblance to actual cat’s eye gemstones, where light reflects off fibrous mineral structures in a similar concentrated line. It’s not just a cute nickname for “shiny nail polish.”
The mechanism behind it is simpler than it looks. Cat eye gel polish has extremely fine iron particles suspended in the formula. While the polish is still wet, holding a magnet near the nail pulls those particles toward it, lining them up into a stripe or pattern instead of leaving them scattered evenly across the cat eye nails . Cure the gel under a UV or LED lamp while the particles are still aligned, and the pattern locks in place. Let it cure too early, or hold the magnet wrong, and you just get a flat, evenly-shimmery nail with none of the depth people are going for.
What You Actually Need
The supply list isn’t long, but a few choices here matter more than most tutorials admit. You’ll want a gel base coat, a cat eye (magnetic) gel polish, a magnet — usually a wand or a flat bar magnet — a gel top coat, and a UV or LED lamp to cure everything.
Here’s the part that gets glossed over: not every magnet works well with every polish. Magnets vary in strength, and some cheaper cat eye nails polishes have a lower concentration of iron particles, which means a weak magnet paired with a light-particle polish can produce almost no visible effect no matter how you hold it. If you’re buying a magnet separately from your polish — which a lot of people do, since kits sold together aren’t always the best value — it’s worth checking that the magnet is described as strong enough for magnetic gel specifically, not just any craft magnet.
The Actual Steps
Start with clean, shaped, buffed nails. Apply a thin layer of base coat and cure it fully — this step is just prep, nothing fancy. Then apply your cat eye nails gel polish in a thin, even coat. Thin matters here; a thick layer makes it harder for the magnet to pull particles all the way through, and you’ll end up with a stripe that looks strong on the surface but weak underneath.
Now, without curing, hold your magnet close to the nail — most polishes want it somewhere between 1mm and 5mm away, never touching the polish itself. Hold it steady for about 10 seconds. This is the step people rush, and it’s also where most of the disappointment comes from. Move the magnet too much and you flatten the pattern into a blur. Hold it too far and the line barely shows. Once you’re happy with how it looks, cure it under your lamp, then finish with a top coat and one more cure.
Why the Effect Doesn’t Show Up (The Part Nobody Explains)
If you’ve tried this and gotten a dull, flat result instead of a sharp shimmer line, it’s almost always one of three things.
The first is timing. Gel starts setting the moment it’s exposed to UV or LED light, even accidentally — daylight through a window can start a slow cure on some formulas. If you take too long moving the magnet around, deciding on a pattern, switching hands, the particles start locking into place before you’ve actually finished shaping them. The fix is simple once you know it: decide your pattern before you start, and work fast once the magnet is near the nail.
The second is magnet strength, which we already touched on. If you’ve tried multiple times, same polish, same steps, and it’s consistently faint, the magnet is the more likely suspect — not your technique.
The third is contrast. This one surprises people. A cat eye stripe needs a darker base underneath it to actually read clearly, because the shimmer is reflecting light against that base color. Try the exact same technique on a pale nude base and a black or deep purple base, and the black one will look noticeably sharper and more dramatic every time, even with identical magnet work. If you want the soft, barely-there “velvet” version instead of a hard line, a lighter base is actually the right call — that’s not a failure, that’s a different effect on purpose.
Here’s a realistic scenario: someone buys a $12 cat eye polish set online, along with a separate $6 magnet from a different seller, because that combination happened to be cheapest. They follow a tutorial exactly — same coats, same timing, same hover distance — and still get a faint, uneven shimmer instead of the sharp line from the reference photos. Most guides would tell them to “try holding the magnet closer” or “use a thicker coat,” and neither actually fixes anything. The real issue is almost certainly the mismatched magnet strength for that particular polish’s particle density — a $6 generic magnet often isn’t built with the same pull as one sold specifically for gel nail application. Swapping to a magnet made for cat eye gel, keeping the coat thin, and working faster before the pattern sets solves it in one try, without changing the polish at all.
Nail Shape Changes the Result, Too
This part rarely comes up, but it should. A cat eye line looks completely different on a short, flat nail compared to a long almond or coffin-shaped one, because the curve of the nail bed bends how the stripe sits. On a flatter surface, the magnet pulls a fairly straight, even line. On a more curved nail, that same magnet angle can produce a line that looks slightly bowed or splits unevenly near the tip. If you’re working on longer, more curved nails, angling the magnet along the natural curve of the nail — rather than holding it flat and straight — usually keeps the line looking intentional instead of accidental.
Color Choices, and Why They Actually Matter
Dark bases — black, deep green, espresso brown, navy — give the sharpest, most dramatic version of the effect, because the contrast between the base and the metallic line is highest. Lighter bases, like nude, soft pink, or pale gray, give a gentler, glowier look often called the “velvet” effect, where the shimmer feels more like a soft sheen than a defined stripe. Neither one is more “correct.” It depends on whether you want the dramatic slit-eye look or something quieter and more everyday.
Removal and Upkeep
Since this is a gel product, removal works the same way as regular gel polish: soaking in acetone, typically wrapped in foil, until it lifts off. The metallic particles don’t behave any differently during removal — they come off along with the rest of the gel and don’t leave any special residue behind. What’s worth knowing is that cat eye gel, like most magnetic gel polishes, tends to hold up well against chipping because the formula is usually a bit thicker than standard gel, but the top coat still matters for keeping the shine from dulling over the two to three weeks most people get out of a set.
DIY or Salon — What Actually Makes Sense
A full at-home kit, including polish, magnet, base and top coat, usually lands somewhere in the $20 to $40 range and can be reused for months of manicures. A single salon service with this technique tends to cost more per visit than a standard gel manicure, since it takes extra time and skill. If you’re only doing this look occasionally, salon is the easier route. If it’s something you’d want on a regular rotation, the kit pays for itself after two or three sets — and once you understand the timing and magnet issues that trip most people up, the at-home version genuinely can look close to what you’d get from a nail tech.