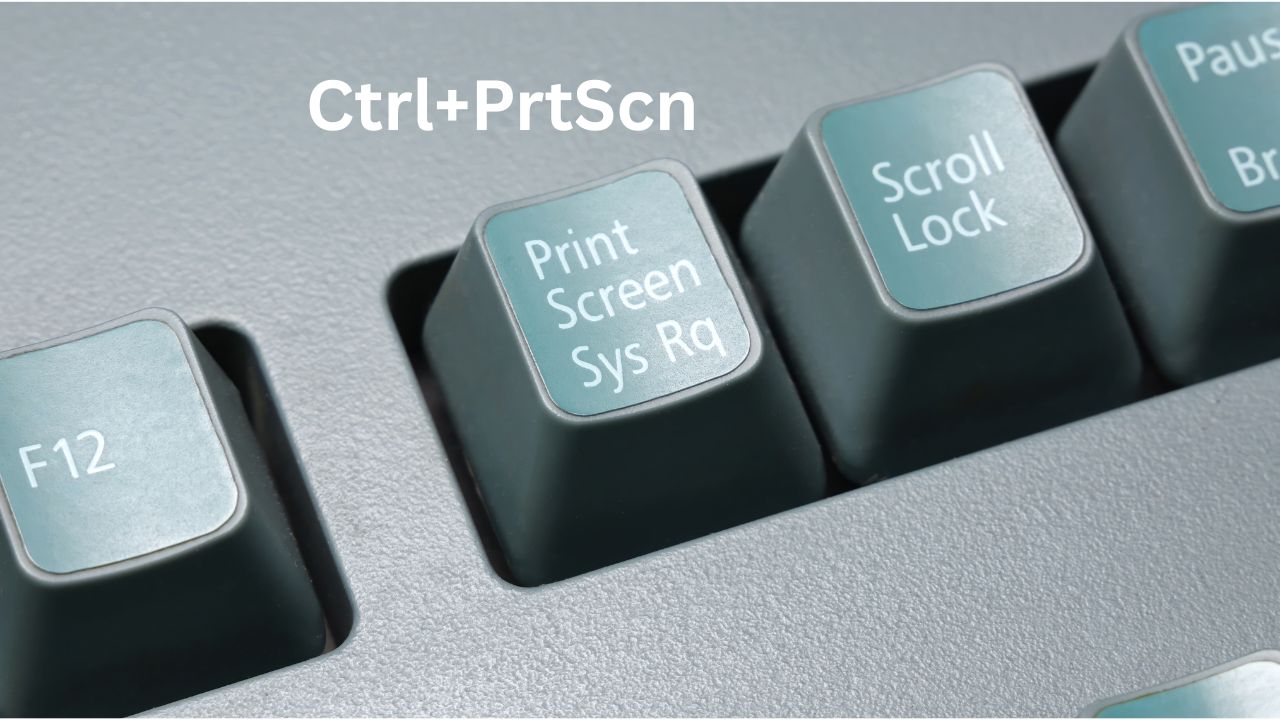
Windows has quietly built up half a dozen different ways to grab a screenshot over the years, and most people only ever learn one — usually by accident, usually the Print Screen key. That’s fine if all you need is the occasional full-screen grab, but if you’re trying How to Screenshot on Windows to capture just one window, annotate something before sending it, or record a short clip instead of a still image, there’s a better tool for the job.
Here’s the full rundown, from the fastest shortcut to the more polished options.
Table of Contents
The Fastest Option: Windows + Shift + S
This is the shortcut most people should actually be using day to day. Press Windows + Shift + S, and your screen dims slightly while a small toolbar appears at the top with a few capture shapes: rectangular, freeform, window, or full screen. Drag to select the area you want, and it’s copied straight to your clipboard — ready to paste into an email, a chat, or an image editor with Ctrl+V.
On Windows 11, this also drops a small notification in the corner right after you capture, and clicking it opens the image in Snip & Sketch (or the Snipping Tool app on newer builds) where you can crop further, draw arrows, or highlight sections before saving or sharing it.
The Classic Method: Print Screen
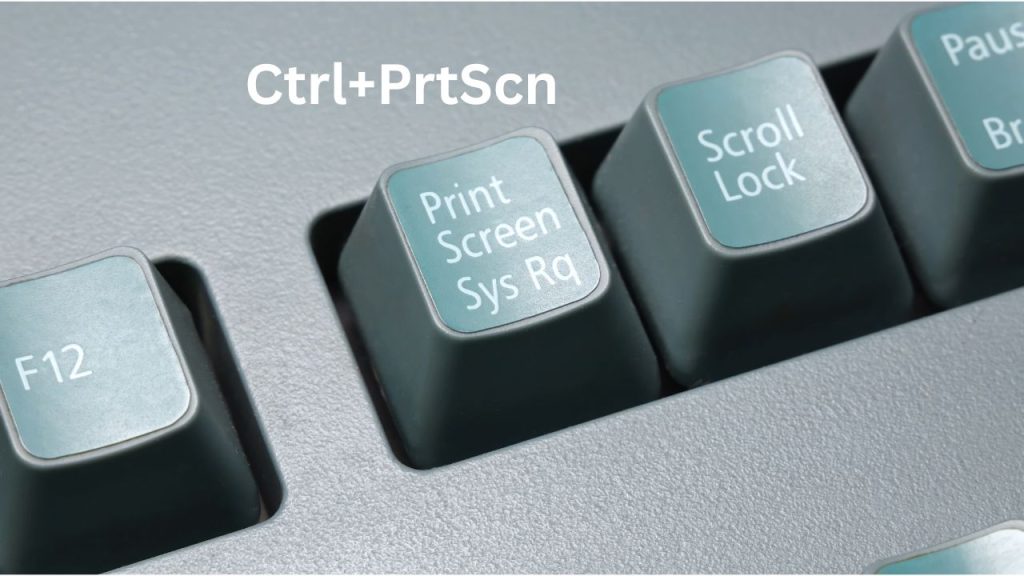
Pressing PrtScn on its own captures the entire screen and copies it to your clipboard, but it doesn’t save a file anywhere — you still need to paste it into something like Paint or Word to actually keep it. This trips people up constantly: they hit Print Screen, nothing visibly happens, and they assume it didn’t work.
A small tweak fixes that. Go to Settings > Accessibility > Keyboard, and turn on “Use the Print Screen button to open screen snipping.” Once that’s enabled, PrtScn behaves like Windows + Shift + S instead, launching the snipping toolbar directly.
If you want the old-school behavior — full screen, saved automatically as a file — use Windows + PrtScn instead. This captures the entire screen and drops a PNG file straight into your Pictures > Screenshots folder, no pasting required. It’s the closest thing to a “just get it done” shortcut.
Capturing Just One Window
If you only want the active window — say, a single browser tab instead of your whole cluttered desktop — click on that window to make sure it’s focused, then press Alt + PrtScn. This copies just that window to your clipboard, cropped automatically, ready to paste. It saves you the step of manually cropping out everything else afterward.
Using the Snipping Tool App Directly
Search “Snipping Tool” in the Start menu and open it directly if you want more control before you even start capturing. It has a delay timer (useful for capturing dropdown menus or hover states that disappear the moment you click away), and the same four capture modes as the keyboard shortcut version. After capturing, you can annotate with a pen or highlighter, then save it as a file or copy it to your clipboard.
On recent Windows 11 updates, the Snipping Tool also picked up basic screen recording, so you can capture short video clips of your screen from the same app instead of needing separate software for simple recordings.
A Realistic Example
Say you’re troubleshooting a printer error and need to send a screenshot to your IT department, but only the error popup matters — not your entire desktop with fifteen browser tabs open. Alt + PrtScn is the fastest route here: click on the error window to focus it, hit Alt + PrtScn, and paste directly into your email. No cropping, no extra editing app, done in about five seconds. Compare that to hitting Windows + PrtScn out of habit, which would’ve captured your whole screen and left you cropping out unrelated windows before sending anything.
Where Do Screenshots Get Saved?
This depends entirely on which method you used, and it’s the source of most “where did my screenshot go” confusion:
Windows + PrtScn saves automatically to Pictures > Screenshots as a PNG file. Windows + Shift + S and Print Screen alone only copy to your clipboard — nothing is saved as a file unless you manually paste it somewhere and save it. The Snipping Tool app saves wherever you choose when you hit save, and doesn’t auto-save unless you tell it to.
If you’re using Windows + Shift + S regularly and want those captures to also save automatically as files, you’ll need to paste and save each one manually, or switch to Windows + PrtScn for that specific use case.
FAQ
Why doesn’t my Print Screen key do anything? It is doing something — it’s copying the screen to your clipboard silently, with no visible confirmation. Paste it into Paint, Word, or an email using Ctrl+V to see it. If you want a visible reaction, enable the Print Screen shortcut setting under Accessibility > Keyboard to link it to the snipping toolbar instead.
How do I screenshot just part of my screen? Press Windows + Shift + S, then drag to select the rectangular area you want. It copies to your clipboard immediately, ready to paste.
Does Windows have a way to record my screen, not just take a photo of it? Yes. The Xbox Game Bar (Windows + G) includes screen recording built in, and newer versions of the Snipping Tool app added basic recording as well, so you don’t need third-party software for short clips.
My laptop doesn’t have a PrtScn key — what do I do? Some laptops use a function combination instead, like Fn + PrtScn or Fn + Windows + Spacebar, depending on the manufacturer. Windows + Shift + S still works regardless, since it doesn’t rely on the PrtScn key at all.
How do I annotate a screenshot after taking it? If you used Windows + Shift + S, click the notification that appears after capturing to open it in the Snipping Tool or Snip & Sketch app, where you’ll find a pen, highlighter, and cropping tool.
Conclusion
For quick, everyday screenshots where you just need a specific area copied fast, Windows + Shift + S is the one to build into muscle memory. If you want the whole screen saved automatically without any extra steps, Windows + PrtScn does that. And if you’re regularly capturing single windows for troubleshooting or sharing, Alt + PrtScn saves you the cropping step every time. Once you know which shortcut fits which situation, screenshotting on Windows stops being a guessing game.